Monday, 30 July 2007

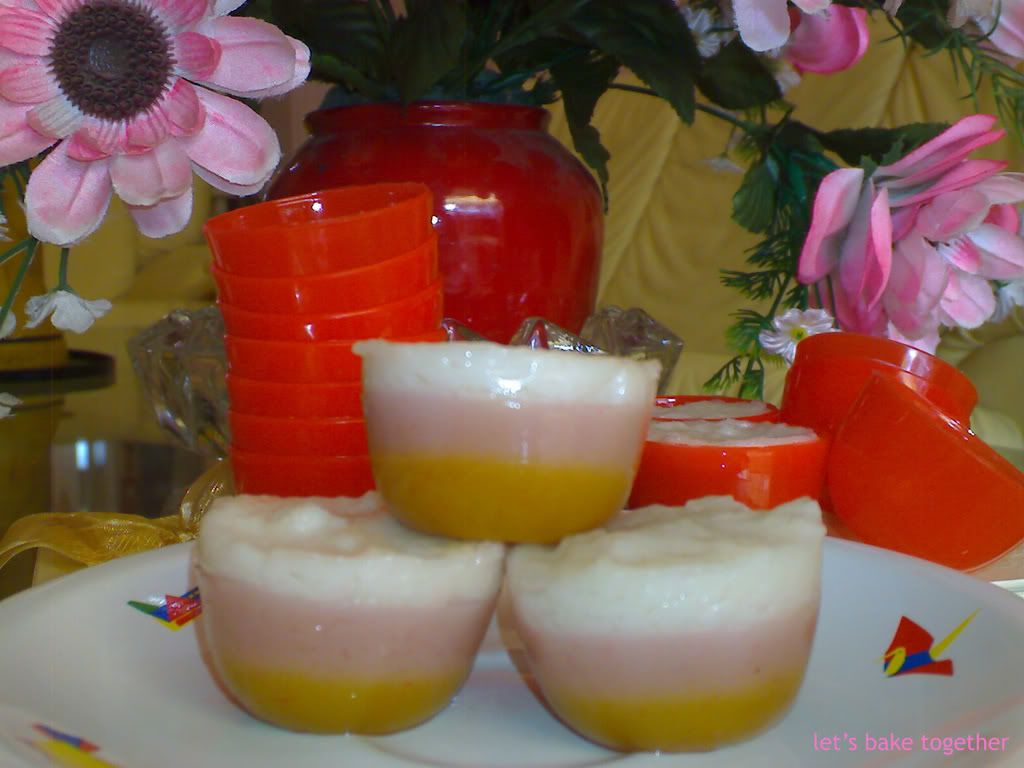
Talam Ketan Pink

I've been wanting to make this traditional dessert 2 weeks ago, but I was in lazy mood :p and just shoot it out last weekend hehehe..... Why the "Kue Talam" is pink? :p Cuz my maid couldn't found the "Suji" leaf and instead I use few drops of red food colouring hehehe... That's the story of my "Kue Talam Pink".


Unfortunately, I didn't succeed :( hiks hiks hiks... Still haven't figure it out why it turned out a bit hard, it's supposed to be soft close to a pudding, especially the pink layer (is it b'cuz of the pink drops? :( maybe someone can tell me what did I do wrong ...helppp... hiks hiks hiks). But... I'll try this traditional dessert again in the future, Jia You...Eppie!! :)

Talam Ketan (Betawi)
Source: Tabloid Nova

Adonan I:
600 ml santan cair
1/2 sdt garam
250 gr gula merah, sisir halus
50 gr gula pasir
2 lbr daun pandan
100 gr tepung beras } campur
50 gr tepung sagu }

Adonan II:
600 ml santan cair
190 gr gula pasir
2 lbr daun pandan
1/2 sdt garam
35 ml air perasan daun pandan dan suji (I put 4 drops of red colour food colouring instead)
190 gr tepung } campur
75 gr tepung sagu }

Adonan III:
60 gr tepung beras }
15 gr tepung sagu } campur
575 ml santan kental
1/2 sdt garam

Cara membuat:
1. Buat adonan I: rebus santan, garam, gula merah, gula pasir, dan daun pandan sampai gula larut lalu saring.
2. Tuang larutan gula ke dalam campuran tepung sedikit demi sedikit sambil terus diaduk sampai rata.
3. Siapkan loyang ukuran 22x22x7 cm (gue pake mangkuk cetakan talam yang kecil2 :p and ternyata makin repotin), olesi minyak dan alasi plastik. Panaskan loyang dalam dandang, lalu tuang adonan. Kukus sampai permukaannya mengeras selama 30 menit.
4. Buat adonan II: rebus santan, gula pasir, daun pandan, garam, dan air perasan daun pandan dan suji sampai mendidih, angkat dan saring.
5. Tuang rebusan santan ke dalam campuran tepung sedikit demi sedikit sambil diaduk sampai rata. Tuang adonan ke loyang berisi adonan I. Kukus sampai adonan mengeras selama 30 menit.
6. Adonan III: larutkan campuran tepung dengan 200 ml santan, sisihkan. Rebus sisa santan dan garam sampai mendidih. Kecilkan api, masukkan larutan tepung sambil terus diaduk sampai adonan mengental dan licin.
7. Tuang adonan ke atas adonan II, kukus sampai matang selama 45 menit.Angkat dan dinginkan.
Untuk 24 potong

Wednesday, 18 July 2007

Mini Quiches

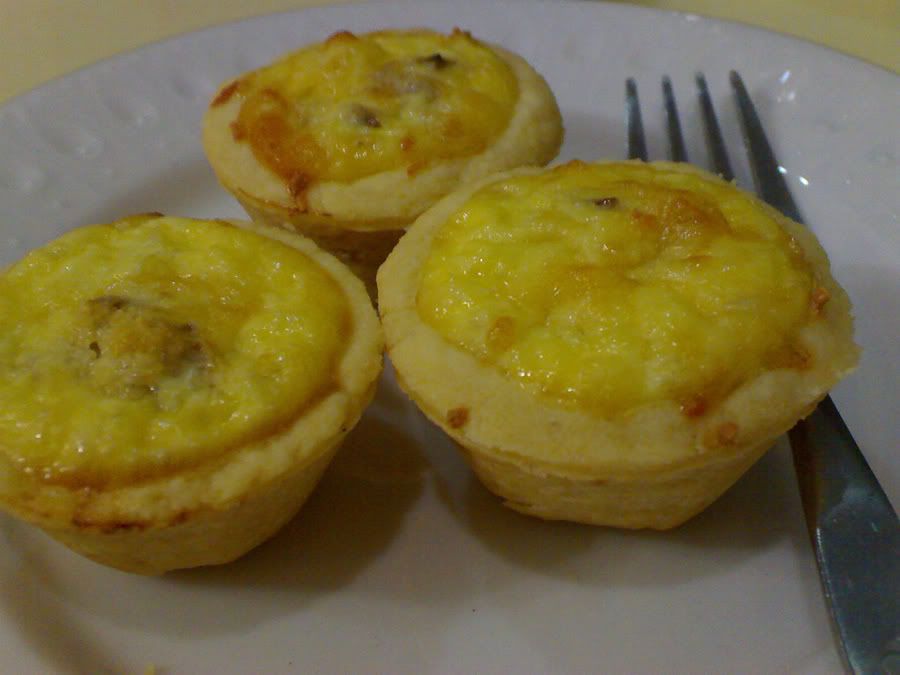
Actually I made this last month, requested by a friend of mine and by chance I found this cute Mini Quiches from vania's blog. I must agree with vania, it's absolutely delicious. I couldn't stop myself from snacking on them. Especially when it's just out from the oven...hm... warm, soft and cheesy. So small and so cute.... I couldn't stop to have one .... and one.... and another one while arranging 'em into a container to go. If I wasn't thinking of my weight, I think I probably had them all, enjoy 'em myself with a glass of ice lemon tea, while also enjoying a good movie :p Definitely I'd put this one on my top lists. Highly recommended! I even doubled the recipe and none of 'em left :)


Mini Quiches
Makes 24 cute mini quiches :)

Ingredients:
1/2 cup milk
1/2 cup heavy cream
2 large eggs
1 large egg yolk
Pinch of freshly grated nutmeg
Coarse salt and freshly ground pepper
All-purpose flour, for work surface
1/2 recipe Pâte Brisée
3 ounces finely shredded Mozzarella & Cheddar cheese
2 ounces cooked smoke beef, cut into 1/4-inch pieces
1 ounce cooked button mushooms, cut into small pieces
1. Preheat oven to 375°. Heat oil in a nonstick skillet over medium heat. Add smoke beef and cook about 2 minutes, transfer to paper towel to drain. Add mushrooms to the same skillet, reduce heat to medium low, and cook about 2 minutes. Set aside.

2. In a medium bowl, whisk together milk, heavy cream, eggs, yolk, and nutmeg. Season with salt and pepper. Strain through a sieve into a medium bowl; set aside.

3. On a lightly floured surface, roll out pâte brisée to slightly less than 1/8 inch thick. Use a 2 3/4-inch round cutter to cut out 24 rounds. Fit rounds into a 24-cup nonstick mini muffin tin. If the pâte brisée becomes too soft to work with, place in refrigerator to chill for 15 minutes. Divide half of cheese evenly between the lined cups. Top with mushrooms and smoke beef. Divide milk mixture evenly between cups. Top each with smoke beef. Sprinkle with remaining cheese.

4. Bake until puffed and golden brown, about 30 minutes. Remove from oven; immediately remove quiches from muffin tin, and transfer to a wire rack. Serve warm or at room temperature.

Pâte Brisée (Pie Dough)

Makes 1 double-crust or 2 single-crust 9- to 10-inch pies
Pâte brisée is the French version of classic pie or tart pastry. Pressing the dough into a disk rather than shaping it into a ball allows it to chill faster. This will also make the dough easier to roll out, and if you freeze it, it will thaw more quickly.
2 1/2 cups all-purpose flour
1 teaspoon salt
1 teaspoon sugar
1 cup (2 sticks) unsalted butter, chilled and cut into small pieces
1/4 to 1/2 cup ice water

1. In the bowl of a food processor, combine flour, salt, and sugar. Add butter, and process until the mixture resembles coarse meal, 8 to 10 seconds.

2. With machine running, add ice water in a slow, steady stream through feed tube. Pulse until dough holds together without being wet or sticky; be careful not to process more than 30 seconds. To test, squeeze a small amount together: If it is crumbly, add more ice water, 1 tablespoon at a time.

3. Divide dough into two equal balls. Flatten each ball into a disk, and wrap in plastic. Transfer to the refrigerator, and chill at least 1 hour. Dough may be stored, frozen, up to 1 month.

Note:

As what I did with the Pizza Tartlet before, same method by using hand, chilled bowl hehehe... I don't have the machine. Manual worked out just fine :p Just try to keep them not getting warmer while doing it and be quick cuz our body have warmer temperature than using a machine.

Tuesday, 17 July 2007

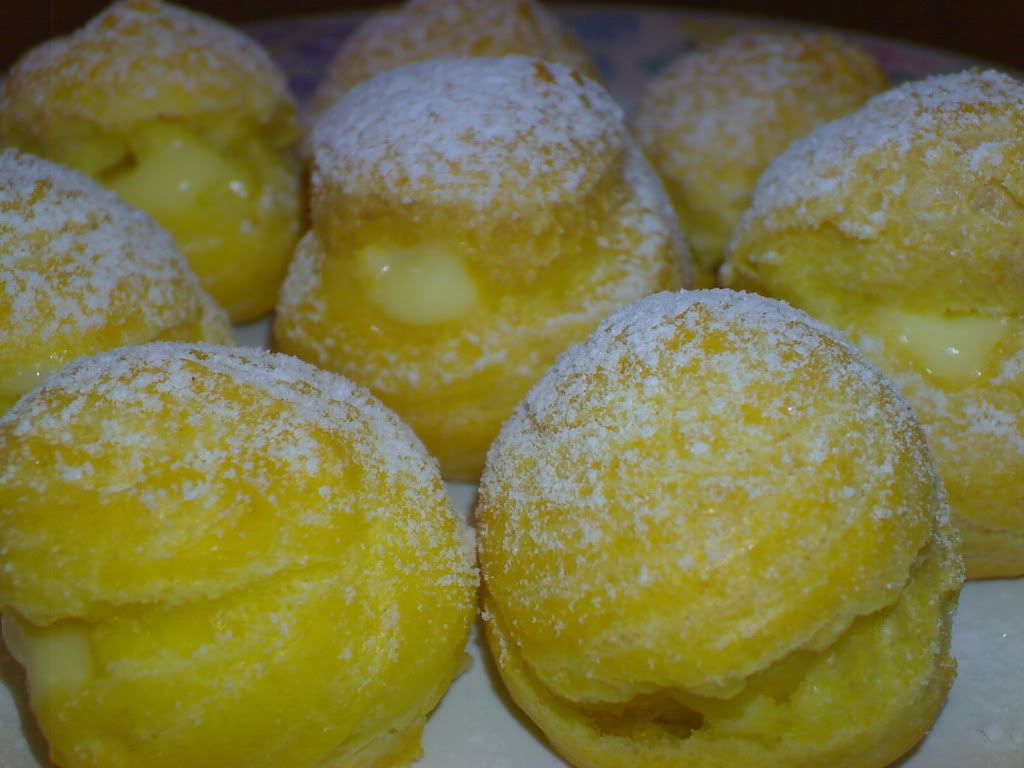
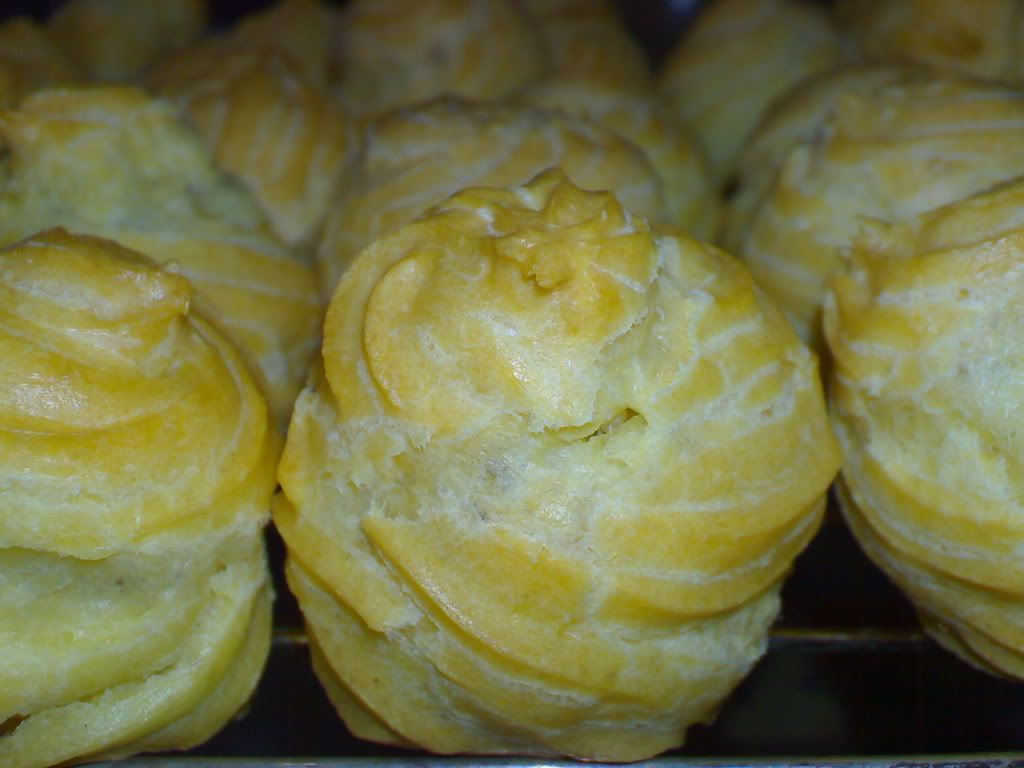
Choux Pastry / Kue Soes

No reason not to try this recipe. From the first time looking at the tempting custard filling, I decided right away to try. After all, we always like "Kue Soes" :) But for me, the one bought by my bf's sister from Singapore is still the best ever. I wish the man is kindly enough to share the recipe and tricks with me :p hehehe...

This recipe is from Pennylane's blog. Honestly, it's worth to try. The custard is nearly taste the same as the one bought from Singapore.


Ingredients:
130 g "Cakra Kembar" flour
1 tsp Salt
100 g Margarine
4 Eggs
250 ml Water

Custard Filling:
800 cc Milk
100 g Caster sugar *
5 Egg yolks
50 g Corn starch flour
100 cc Whipped cream
1 tbsp Unsalted butter
5 tbsp Rhum / Brandy (optional) **

Soes:
1. Heat water, salt and margarine until boiling.
2. Add in flour, stir well. Let the dough warm.

3. Heat oven to 200 C.

4. Add in eggs to the dough one at a time while continue mixing (with spatula or mixer) until well mixed.

5. Spuit or spoon on to baking sheet layered with baking paper until the dough finish (you can make any sizes you want to :p, I made small ones, no mess just throw into your mouth). Bake for more or less 25 minutes. Do not open the oven while it's baking and if it's already 25 minutes and still have small bubbles on the Soes, let it stay for few minutes in the oven.

6. Directly cool on a wire rack to avoid the bottom Soes becoming lumpy.

Custard Filling:
1. Stir well corn starch flour with some of the milk. Put aside.

2. Mix egg yolk using a fork, and add in a little bit of milk. Put aside.

3. Heat the remaining milk and sugar, add in the corn starch mixture. Stir well and low the heat down.

4. Take few spoons of the milk, sugar and corn starch mixture and stir well in the egg mixture. This method is to get the egg mixture to nearly same temperature before pouring them together to get soft mixture.

5. Add in whipping cream, stir well and boil once more.

6. Lift away from heat and stir in butter. Keep stirring to cool.

Finishing:
Cut small line on the each Soes and fill in the custard using piping bag.

* 100 g is the modified version by Pennylane. But for me and my family, it's not sweet enough since the Soes has no taste. So, I think next time I'll go back to the original version 200 g.
** I don't add any of this cuz I want to keep the milky smell :p